
Views: 0 Author: Site Editor Publish Time: 2026-08-05 Origin: Site


Selecting the right bracket for your next closet project represents a critical structural decision, rather than a mere aesthetic afterthought. It forms the backbone of any reliable wardrobe architecture. Designers and installers must prioritize load-bearing mechanics over visual appeal to ensure long-term durability.
Unfortunately, wardrobe systems frequently fail due to mismatched load-bearing limits, inadequate span support, or incorrect bracket-to-rod diameter tolerances. When installers overlook these vital metrics, heavy garments quickly bend unsupported tubes. Furthermore, immense sheer forces can tear mounting hardware straight through unsecured drywall, causing catastrophic collapses.
To prevent these costly failures, this guide provides a rigorous technical evaluation framework. We will help you perfectly match standard and heavy-duty brackets to specific rod profiles. You will discover exactly how to achieve zero-deflection installations perfectly suited for high-traffic commercial spaces or heavy-load residential closets.
Categorizing brackets based on architectural layouts remains your first crucial step. Wall-to-wall installations demand different hardware than open-ended designs. Shelf integration also heavily dictates your bracket geometry. You must evaluate these layout constraints early in the planning phase to avoid mid-project delays.
We routinely categorize end flanges into closed or open-lip designs. Each serves a very distinct structural purpose. Closed flanges guarantee secure, permanent placement. You slide the rod through a complete circular opening during assembly. This captive design completely eliminates any accidental dislodging caused by aggressive hanger movement. Installers prefer closed flanges for high-traffic commercial environments.
Conversely, open-lip or U-shape flanges allow much easier drop-in installation. They also permit future height adjustments without forcing you to disassemble the entire closet frame. However, U-shape designs require an exceptionally snug fit. Without tight tolerances, the rod may jump upward when users quickly remove heavy coats.
Next, consider shelf and rod support combos. These dual-purpose brackets maximize vertical space efficiently within tighter residential closets. We evaluate them strictly based on cantilever weight distribution. The bracket's gusset depth must adequately support overhead wood or MDF shelving.
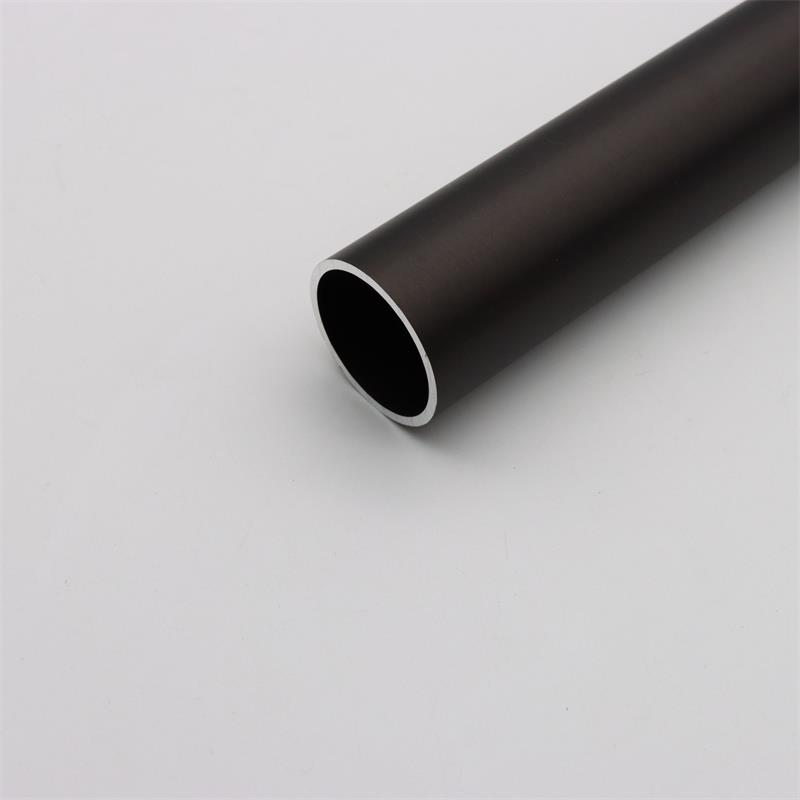
Simultaneously, the lower cradle must securely hold a fully loaded Round Closet Rod. The angle of the supporting arm determines how much total weight the bracket can endure before buckling. Heavy-duty combo brackets often feature reinforced diagonal struts.
Center supports remain strictly non-negotiable for commercial builds and wide residential wardrobes. We evaluate pass-through brackets primarily based on hanger glide mechanics. A properly designed mid-support utilizes a closed-loop or deep-saddle design. This intentional geometry allows hangers to slide smoothly across the span without catching on protruding hardware lips. It provides necessary lift to the middle of the tube, counteracting the natural pull of gravity.
Best Practices for Bracket Configurations:
Structural integrity relies heavily on underlying material composition. You must meticulously assess both metallic strength and environmental resistance before purchasing. Standard bedroom closets face vastly different atmospheric conditions than highly humid utility rooms or coastal properties. Matching materials correctly extends hardware lifespan significantly.
Consider the performance of a stainless steel closet rod. Implementation realities show reputable manufacturers often utilize 304 or 316-grade steel alloys. You must actively match these premium tubes to corresponding stainless brackets. This deliberate matching maintains high load capacities, often exceeding 100 pounds per linear foot.
Furthermore, matching identical metals effectively resists rapid oxidation. It completely prevents galvanic corrosion. Galvanic corrosion occurs when two dissimilar metals touch in humid environments, leading to rapid degradation and rust. Utilizing 304-grade stainless ensures long-term reliability in damp spaces like laundry rooms.
Alternatively, carefully analyze the standard chrome closet rod. Manufacturers typically use carbon steel tubes heavily plated under a bright chrome finish. You should pair these tubes using zinc die-cast or heavy-duty plated steel brackets. Chrome plating offers exceptional surface hardness.
This hardened exterior resists daily hanger friction beautifully. It prevents deep scratches from metal hanger hooks. However, you require careful evaluation of the underlying wall thickness. Thin-walled carbon steel easily bends, regardless of its shiny chrome exterior. Always verify the steel gauge before relying on chrome hardware for winter wardrobes.
Finally, evaluate lightweight aluminum and alloy options. Aluminum provides a notably lighter weight profile. Installers find it much easier to cut on-site using standard tools. However, inherently, aluminum remains highly prone to faster deflection under heavy loads compared to steel alloys. You should reserve aluminum strictly for lightweight garment storage, such as children's clothing or sheer summer dresses.
Long span bowing acts as a common engineering failure in custom wardrobes. Installers frequently encounter this massive issue across eight-foot to ten-foot closet runs. Without proper intervention, even premium metal tubes will eventually succumb to gravity.
Understanding the actual deflection curve remains vital for any successful installation. We must define the distinct weight tolerances of different garments. Standard winter coats, heavy denim, and leather jackets weigh significantly more than lightweight dress shirts. Furthermore, dynamic weight impacts the round wardrobe tube continuously. Sliding a tight cluster of heavy coats abruptly transfers intense kinetic energy to the rod. Over time, inadequate mid-span support forces the metal to permanently warp.
Center Support Math and Span Guidelines| Span Length | Garment Type | Deflection Risk | Recommended Hardware Minimums |
|---|---|---|---|
| Up to 36 inches | Light Shirts / Blouses | Low | 2 End Flanges |
| 36 to 48 inches | Mixed Wardrobe | Moderate | 2 End Flanges + 1 Center Support |
| 48 to 96 inches | Heavy Winter Coats | High | 2 End Flanges + 2 (or more) Center Supports |
A highly reliable rule of thumb exists regarding center supports. Deflection risk increases exponentially once a span exceeds 36 to 48 inches. You face an absolute structural necessity here. Installers must securely place a center bracket directly into a wooden wall stud every 32 to 48 inches along the span.
Tube wall thickness, commonly known as gauge, drastically alters your entire bracket strategy. Upgrading from a basic 1.0mm to a robust 2.0mm wall thickness changes everything. A thicker metal wall naturally resists bending under heavy shear forces. Consequently, thicker gauges might safely allow slightly wider bracket spacing while successfully maintaining zero deflection. Thicker walls grant installers much-needed structural forgiveness.
Briefly contrasting standard round profiles against oval or custom shapes rapidly validates your project choice. Standardization drastically simplifies the entire installation process. It also ensures long-term compatibility for end users.
Comparison Chart: Round vs. Alternative Profiles| Profile Type | Hardware Availability | Rotational Symmetry | Hanger Friction Mechanic |
|---|---|---|---|
| Round | Extremely High | Perfect (360 degrees) | Low (Tangential Contact) |
| Oval | Moderate | Strict Orientation Required | Medium (Wide Surface Drag) |
| Rectangular | Low / Specialty Only | Fixed Orientation | High (Flat Surface Drag) |
First, explicitly consider hardware availability. Round profiles benefit immensely from a massive, global manufacturing ecosystem. You can easily source off-the-shelf, highly standardized bracketry anywhere. This ubiquitous availability heavily reduces procurement delays during large commercial builds or residential renovations.
Rotational symmetry provides a massive, tangible installation advantage. Round tubes inherently require no specific orientation during cuts. Bracket mounting becomes entirely foolproof. You completely eliminate aggravating upside-down installation errors. Oval or rectangular rods frequently suffer from these exact alignment mistakes, requiring frustrating re-cuts and wasted materials.
Finally, thoroughly analyze basic friction and glide mechanics. Hangers naturally utilize a tangential contact point on a round radius. This geometric reality yields predictably low friction across the entire rod. It allows garments to slide back and forth effortlessly. Furthermore, this smooth radius prevents aggressive scraping, which extends the overall lifespan of plastic, velvet, and wooden hangers alike.
Bridging the gap between purchasing quality hardware and executing a durable install requires practical experience. Many premium hardware setups fail miserably due to basic, avoidable installation errors. You must anticipate these risks.
The drywall anchor trap consistently catches many DIYers and inexperienced contractors. You might mistakenly assume heavy-duty toggle bolts hold sufficient weight. They do not. Drywall inherently fails under the continuous, dynamic shear force of a fully loaded rod. The constant pulling easily crumbles gypsum board. Proper solid backing remains an absolute necessity. You must explicitly secure brackets directly into solid wood blocking or mount them precisely onto vertical wall studs.
Clearance tolerances strongly dictate daily functionality. Calculating the required drop distance proves essential before drilling any holes. Typically, you need a precise 2 to 2.5-inch drop from an overhead shelf down to the top of the rod. This specific clearance allows modern hangers to clear the shelf seamlessly. Too tight of a clearance causes hangers to aggressively jam against the ceiling board during daily use, causing frustration and damage.
Addressing custom and 3D-printed brackets requires strict risk assessment. We acknowledge current, innovative maker-community trends. Many enthusiasts eagerly print edge-case supports for their closets. However, we strongly caution against utilizing standard FDM plastics for load-bearing primary supports. FDM prints suffer terribly from inherent shear-layer adhesion weaknesses. Heavy garments will eventually split the printed plastic layers along the horizontal axis, causing sudden and dangerous wardrobe collapses.
Common Installation Mistakes to Avoid:
Matching the proper bracket to a high-quality round rod prevents catastrophic wardrobe collapses. Success relies entirely on respecting structural tolerances, material science, and load-bearing math. Taking shortcuts on hardware directly compromises the safety and usability of your closet space.
A: You need a minimum of three brackets. This setup includes two end flanges and one center support. Ideally, you should use four brackets by carefully placing center supports at 32-inch stud intervals. The exact bracket count depends heavily on your tube gauge and the anticipated dynamic clothing load.
A: Weight capacity is determined strictly by the tube's internal wall thickness, known as gauge, and its outer diameter. The surface finish itself does not dictate mechanical strength. However, solid stainless steel generally offers superior, lasting structural integrity over thin-walled, plated carbon steel options.
A: No. We stress exact tolerances to actively prevent tube damage or complete installation failure. Forcing a mismatched rod into a smaller bracket causes severe seating difficulty. You must meticulously standardize the exact diameter across your entire hardware set to ensure a safe, highly functional closet.


