
Views: 0 Author: Site Editor Publish Time: 2026-08-07 Origin: Site


A closet system remains only as reliable as its weakest load-bearing point. Many builders and homeowners seriously underestimate the sheer weight of a fully stocked wardrobe. Unspanned, heavily loaded rods eventually suffer from severe deflection. This sagging ruins aesthetic appeal rapidly. Worse, it risks catastrophic damage to your cabinet structure and surrounding drywall. We resolve this vulnerability by introducing properly specified hardware into the build. A center support distributes vertical loads safely across the structure. It preserves both the clean visual lines and the functional integrity of the wardrobe.
Our goal is to define the exact parameters for installing this crucial hardware. We will outline the specific cabinet designs and width thresholds requiring structural reinforcement. You will also learn which physical hardware configurations dictate the use of a center bracket. Understanding these principles ensures your closet installations endure years of daily abuse without failing.
Professionals calculate closet requirements using specific load-per-linear-foot metrics. Industry averages dictate standard clothing weighs between 15 and 20 pounds per linear foot. However, specialty garments change this math entirely. Heavy winter coats, motorcycle leathers, or dense formal wear easily exceed 30 pounds per foot. You must plan your structural supports around these maximum potential loads. A seemingly sturdy pole quickly bends when an owner packs it tightly with heavy wool jackets.
When spans exceed 48 inches, the physics of rod sagging become undeniable. Material choice plays a dominant role here. Wooden dowels bow quickly under moderate weight. Aluminum offers better rigidity but snaps or warps under sudden heavy loads. Steel tubing provides the highest resistance to deflection, but even steel faces limitations over long spans. Failing to install a closet rod center support initiates a chain reaction of secondary failures.
We see predictable damage patterns when brackets are omitted. Screws rip violently out of drywall anchors. Medium-density fiberboard (MDF) upper shelves warp under continuous downward pull. End flanges eventually crack or break entirely. You can avoid this extensive damage simply by respecting the deflection threshold. We strongly advise incorporating middle bracing before any signs of metal fatigue appear.
Material Deflection and Span Thresholds| Material Type | Max Unspanned Width | Average Load Capacity Per Foot |
|---|---|---|
| Wood Dowel | 36 inches | 10-15 lbs |
| Aluminum Extrusion | 40 inches | 15-20 lbs |
| Steel Tubing | 48 inches | 30+ lbs |
Common Mistakes: Installers often judge a rod's strength by pulling down on it briefly. This manual test fails to account for continuous, static creep over months. Always calculate the mathematical load rather than relying on a quick physical test.
Many older homes feature wide, oversized reach-in closets lacking vertical partitions. A single continuous rod often spans five to eight feet across the space. These vast, unsupported spans practically beg for central bracing. Without intermediate support, a long pole functions like a hammock. It dips deeply in the middle, pushing hangers tightly together. You must break these long sections up using reliable mounting brackets.
Heavy-duty mudroom cabinetry faces even more extreme physical demands. Homeowners routinely pack mudrooms with high-density winter gear, wet clothing, and heavy boots. Wet garments weigh significantly more than dry ones. You must engineer these specific spaces for maximum weight tolerance. A reinforced upper shelf combined with sturdy middle brackets handles this dense, heavy utility storage safely.
L-shaped walk-in corners create unique structural weak points. Continuous corner systems depend on the stable intersection of two separate rods. We recommend placing bracing near this junction. Middle bracing stabilizes the corner, preventing independent movement of either pole. This keeps hangers sliding smoothly without jamming at the intersection.
Freestanding armoires and wardrobes present an entirely different vulnerability. They lack deep wall anchors entirely. A central bracket becomes critical for transferring hanging weight securely. It pushes the load upward into the unit's reinforced top shelf. This vertical transfer prevents the side panels of the armoire from bowing inward.
Builders evaluate three primary materials for hanging hardware: die-cast zinc, plastic, and steel. Avoid plastic entirely for any load-bearing applications. It turns brittle over time and shatters unexpectedly. Zinc offers moderate strength suitable for lightweight nursery or linen closets. We position the stainless steel center support as the ultimate industry standard. It thrives in high-humidity environments like coastal homes or bathroom-adjacent closets. Steel handles maximum load-bearing needs effortlessly, resisting corrosion and mechanical fatigue simultaneously.
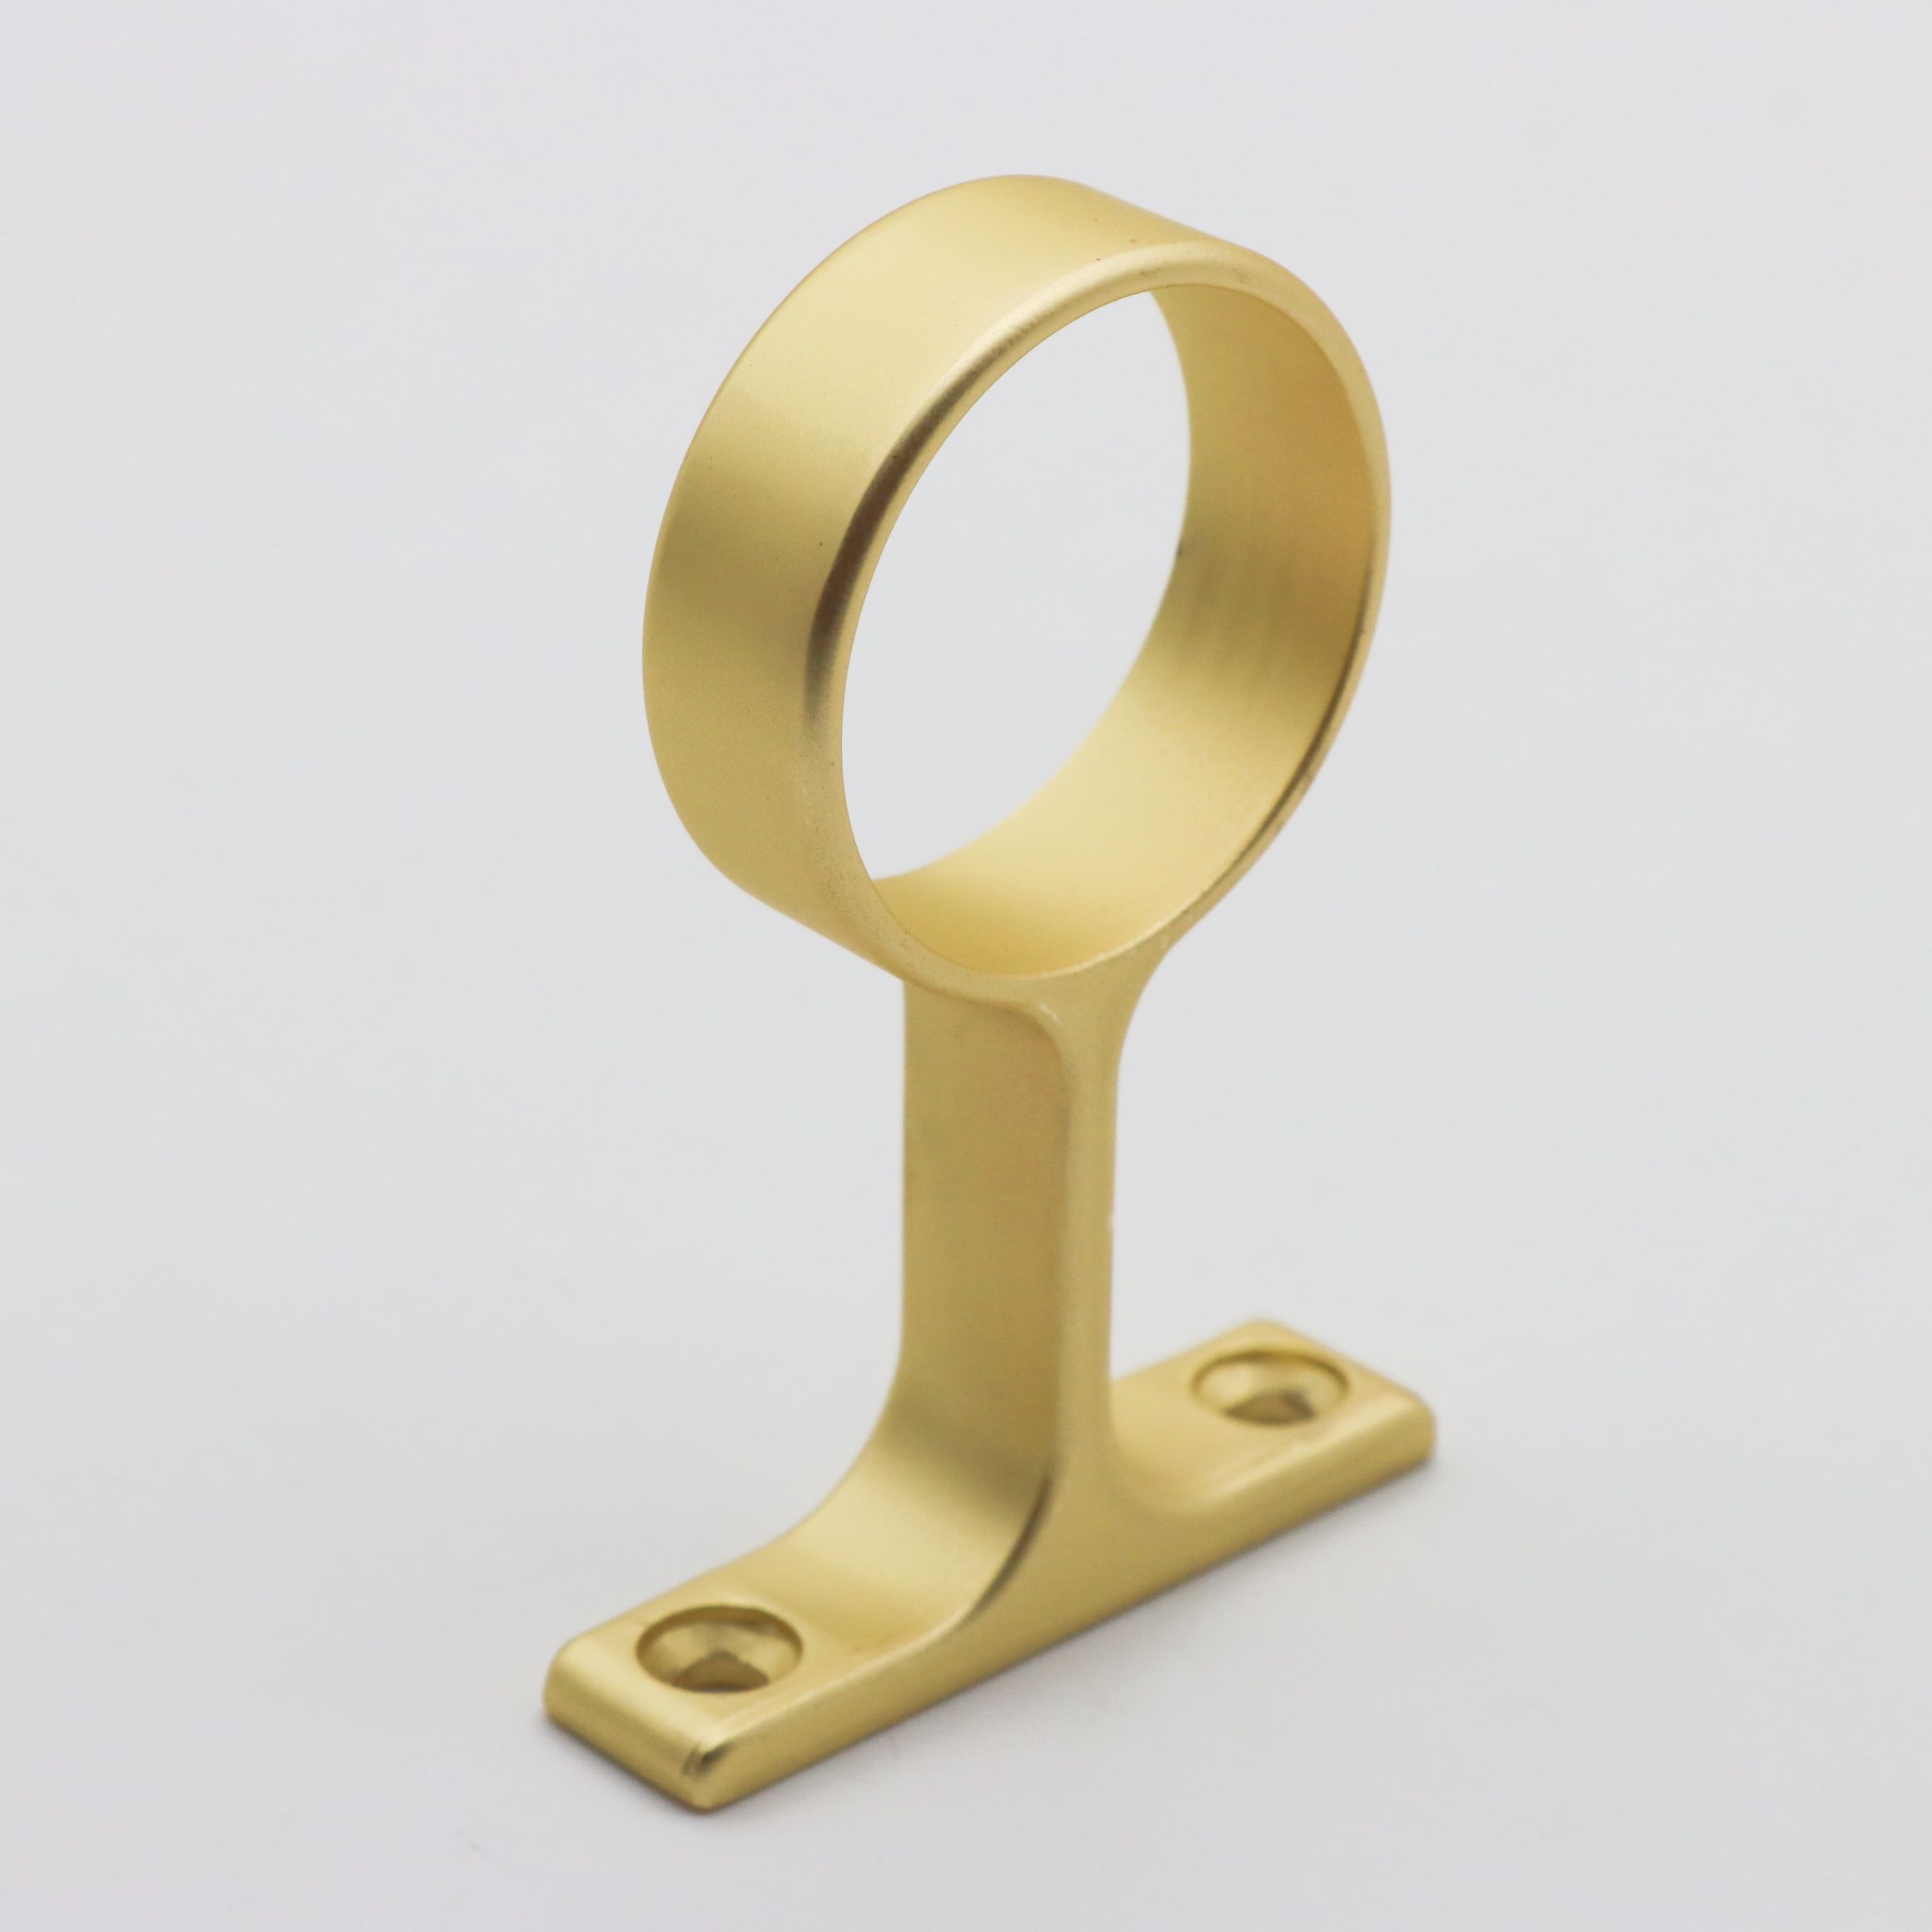
You must match hardware profiles exactly to the pole. Use a dedicated round rod center support for circular poles. Oval or rectangular extrusions require specialized brackets shaped to their exact dimensions. Mismatched profiles cause dangerous rod rotation. The pole spins freely inside an improperly fitted cradle. This rotation creates severe hanger friction. It rapidly accelerates premature wear on both the hangers and the metal finish.
Bracket typology influences installation methods directly. Shelf-mounted supports anchor straight into the underside of a fixed wooden shelf. They offer excellent stability but require thick overhead material. Ceiling-mounted or cleat-mounted supports offer alternative solutions. You attach them directly into ceiling joists or back-wall wooden cleats when no top shelf exists. Evaluate your available mounting surfaces carefully before purchasing hardware.
Novice installers often fall into the fastener trap. They use short, half-inch screws driven directly into 5/8-inch or 3/4-inch melamine. This method guarantees structural failure. MDF and particleboard lack the internal grain structure to hold screws under tension. The fastener simply strips the composite material and pulls out. You must use a top-mounted locking nut (through-bolting) or drive long screws deep into a wall stud.
We must acknowledge the usability trade-off inherent in this hardware. A standard center bracket interrupts the continuous sliding of hangers. You cannot push garments past the middle point smoothly. Overcome this friction by strategically placing brackets at natural clothing-category dividing lines. Use the bracket to separate long dresses from short shirts. This turns a physical obstacle into an organizational advantage.
Alignment tolerances matter immensely during installation. You must perfectly level the middle bracket with the two end flanges. Uneven leveling causes severe weight distribution problems. If you mount the middle support too high, it forces the rod to bow upward. If mounted too low, it fails to bear any weight until the pole sags dramatically. Always use a laser level or a long spirit level to verify perfectly horizontal alignment.
Common Mistakes: Do not overtighten set screws on metal poles. Excessive pressure dents the thin metal tubing. It weakens the exact spot where structural integrity matters most.
Choosing the correct hardware prevents costly callbacks and guarantees long-term satisfaction. We recommend a systematic approach to shortlisting your components. Follow a logical progression to ensure you match the hardware to the environment.
Taking the time to measure twice and audit the physical materials guarantees a flawless build. Do not skip these evaluation steps, even on seemingly simple residential closets.
Skipping a center support on long cabinet spans represents a dangerous false economy. Saving a few dollars on hardware inevitably leads to complete system failure, sagging rods, and damaged woodwork. You must respect the physical limits of building materials. Structural reinforcement is a mandatory requirement, not an optional upgrade.
A: Industry standard recommends installing a support bracket every 36 to 48 inches. This exact distance depends heavily on the rod material and the expected clothing load. Steel rods can span closer to 48 inches safely, whereas wooden dowels require support every 36 inches.
A: Yes, you can add support later, provided the rod has not suffered permanent plastic deformation. If the metal or wood remains permanently bent after removing the clothing, you must replace both the rod and add the support simultaneously.
A: It is not strictly necessary for dry, standard-weight environments. However, professionals highly recommend it for superior longevity, supporting heavy winter coats, or resisting rust in humid climates like coastal properties or bathrooms.
A: You can utilize ceiling-mount brackets anchored directly upward into wooden joists. Alternatively, you can install a sturdy wooden bridging cleat horizontally along the back wall and attach a wall-mounted bracket directly to that cleat.


